
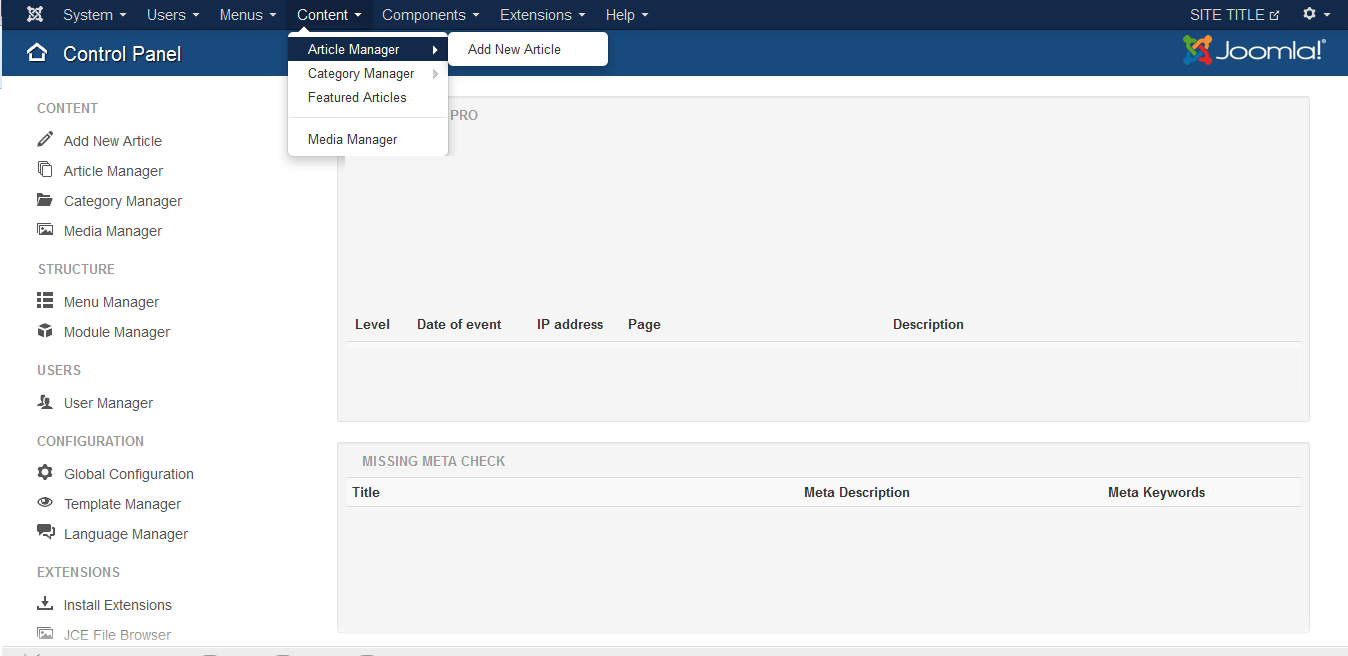
Login to your website. From the Content Tab, choose the Article Manager
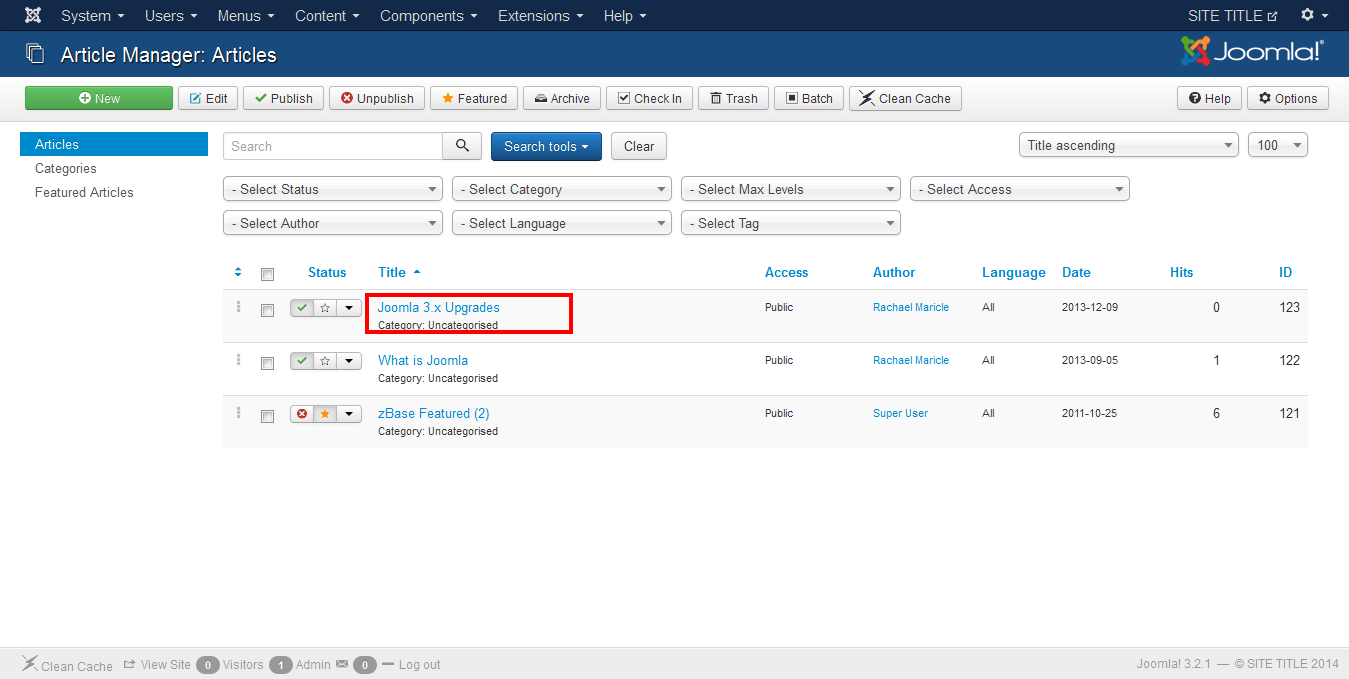
Select the article you want to add an image to. We are using the “Joomla 3.x Upgrades” Article.
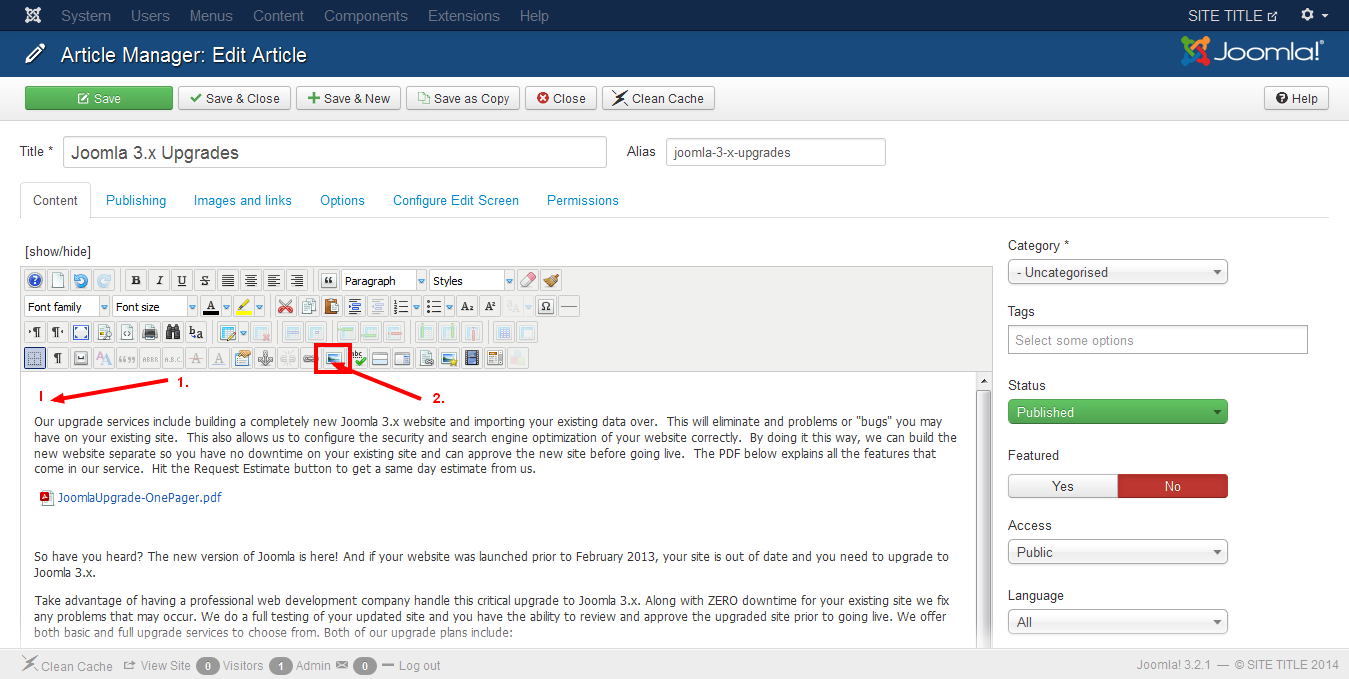
Select where in the article you want the image to be placed. Click the photo icon on the JCE toolbar.
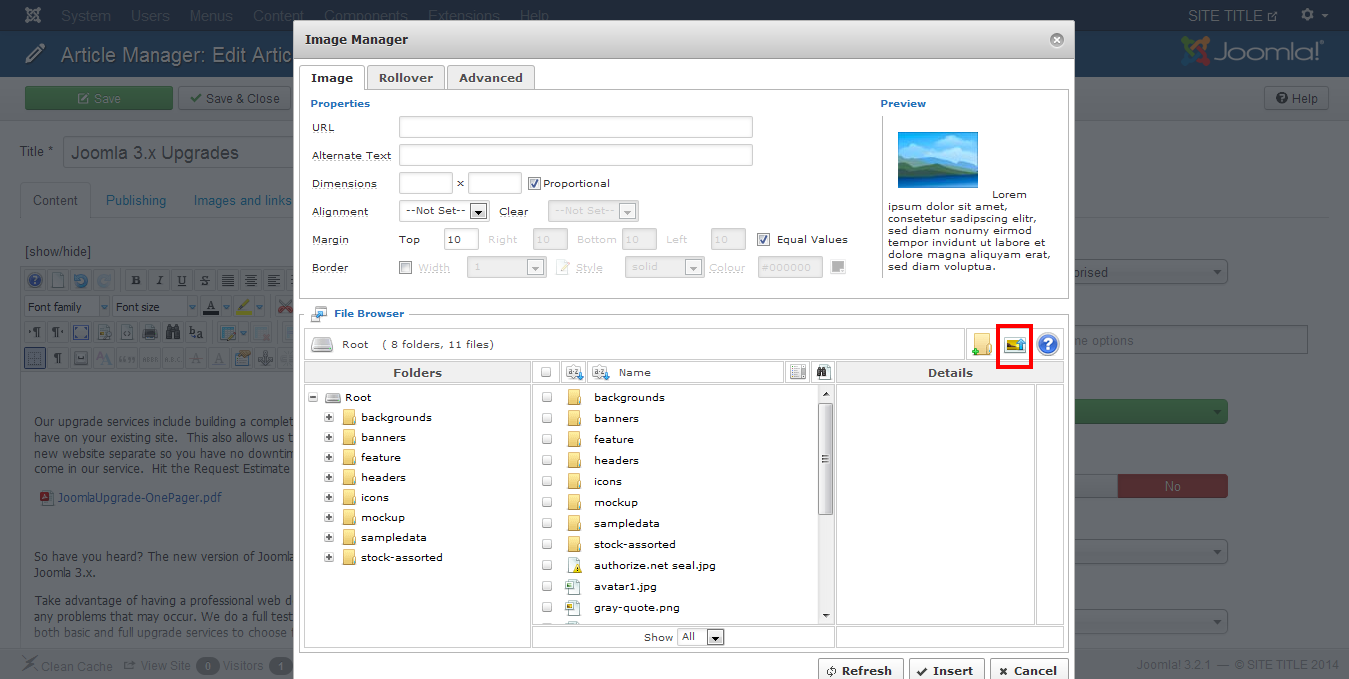
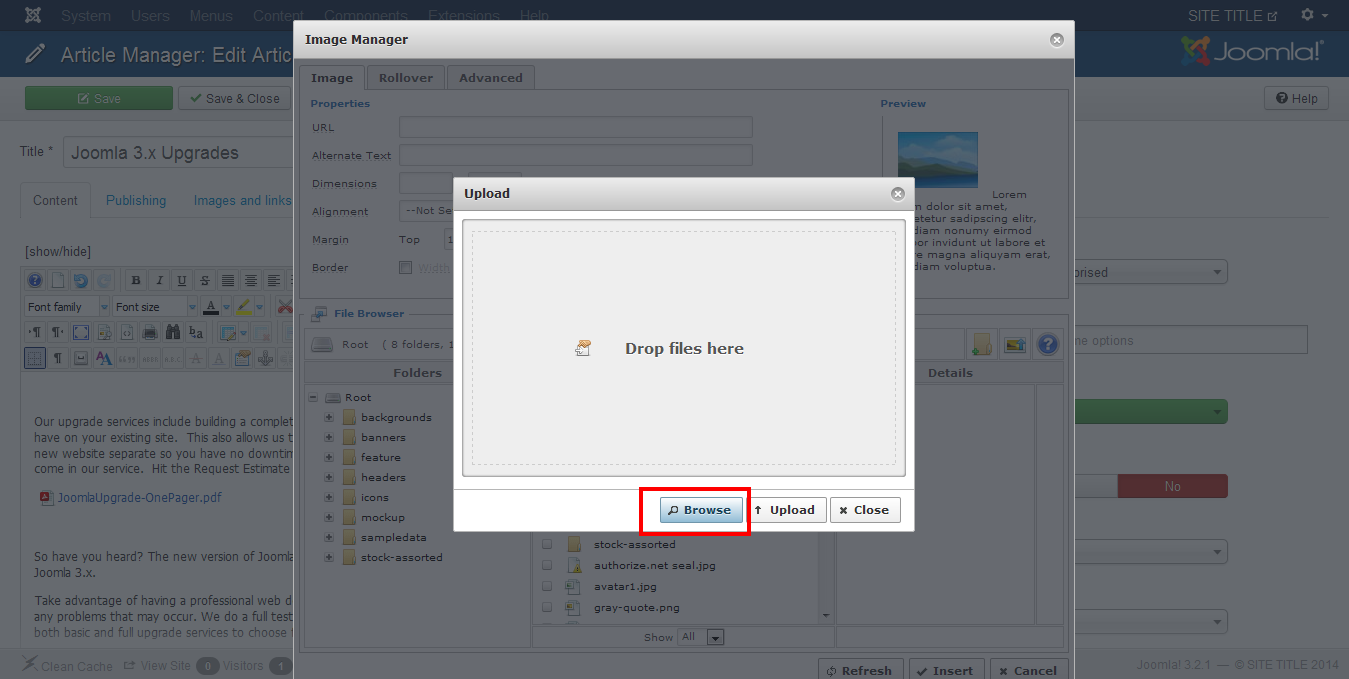
Select the upload image button
Click the browse button…browse your computer for an image.
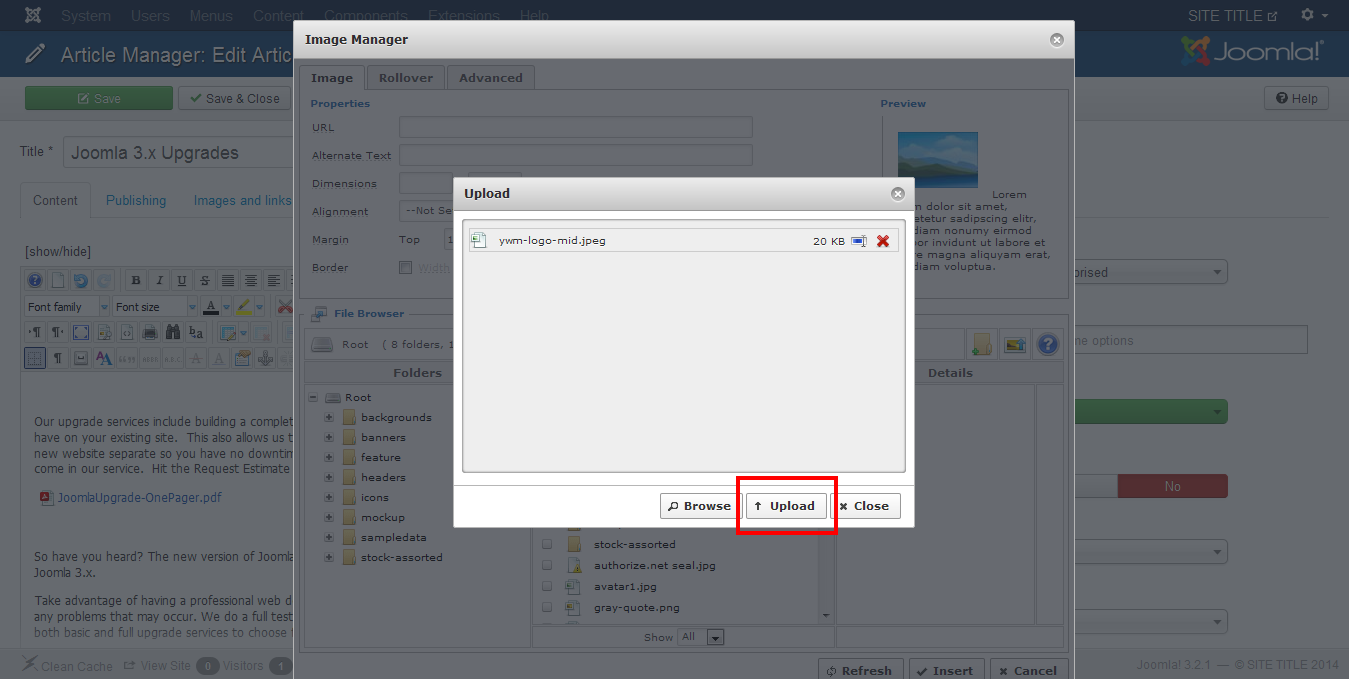
Choose the image and then hit Upload
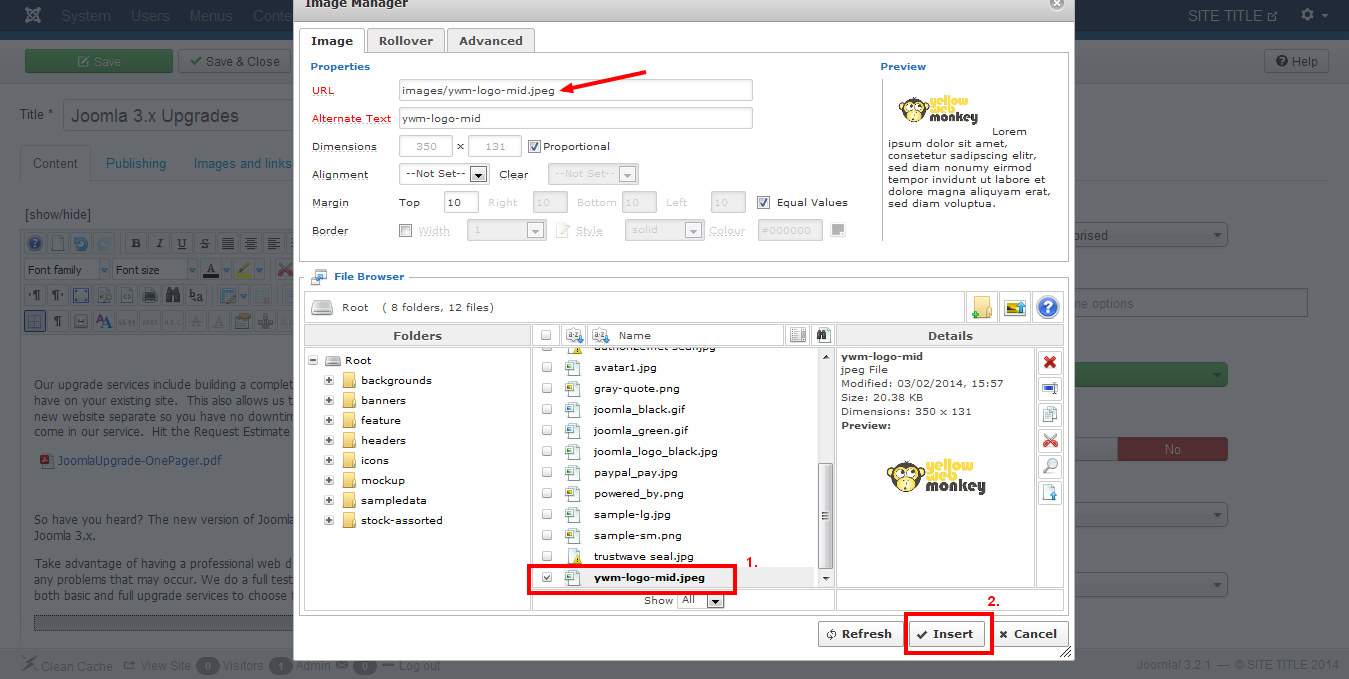
Once the image populates into your image listing click the image so a URL shows up in the URL space then select Insert.
The image is now inserted into the article, but it is not placed correctly.
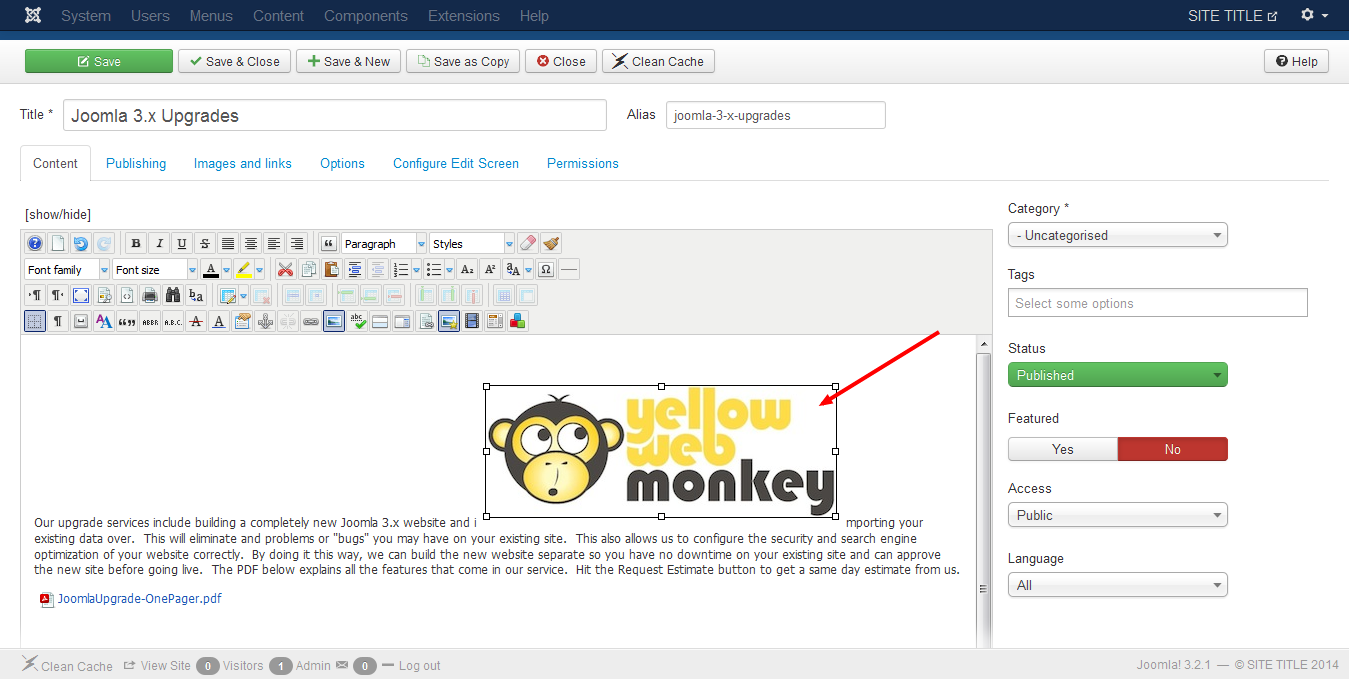
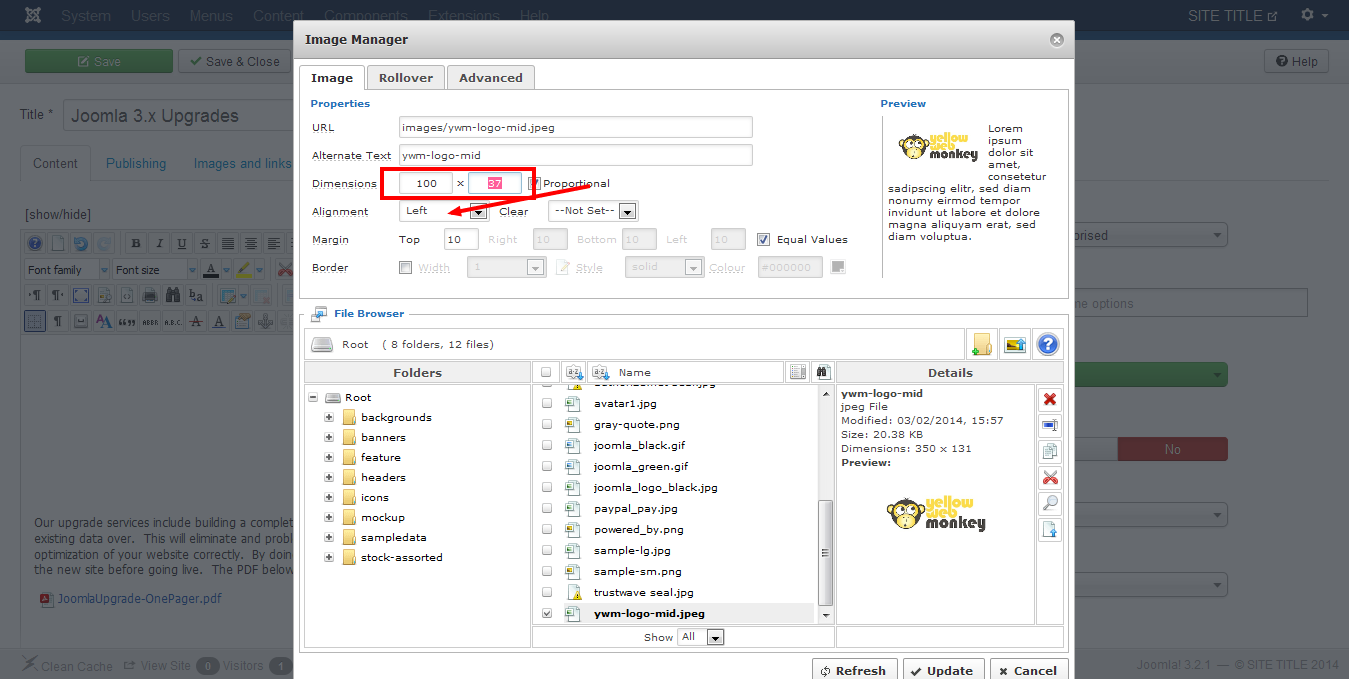
Adjust the size, alignment, etc of the image as need to fit needed in the article.
Now with those adjustments the image is placed in the article where it needs to go.
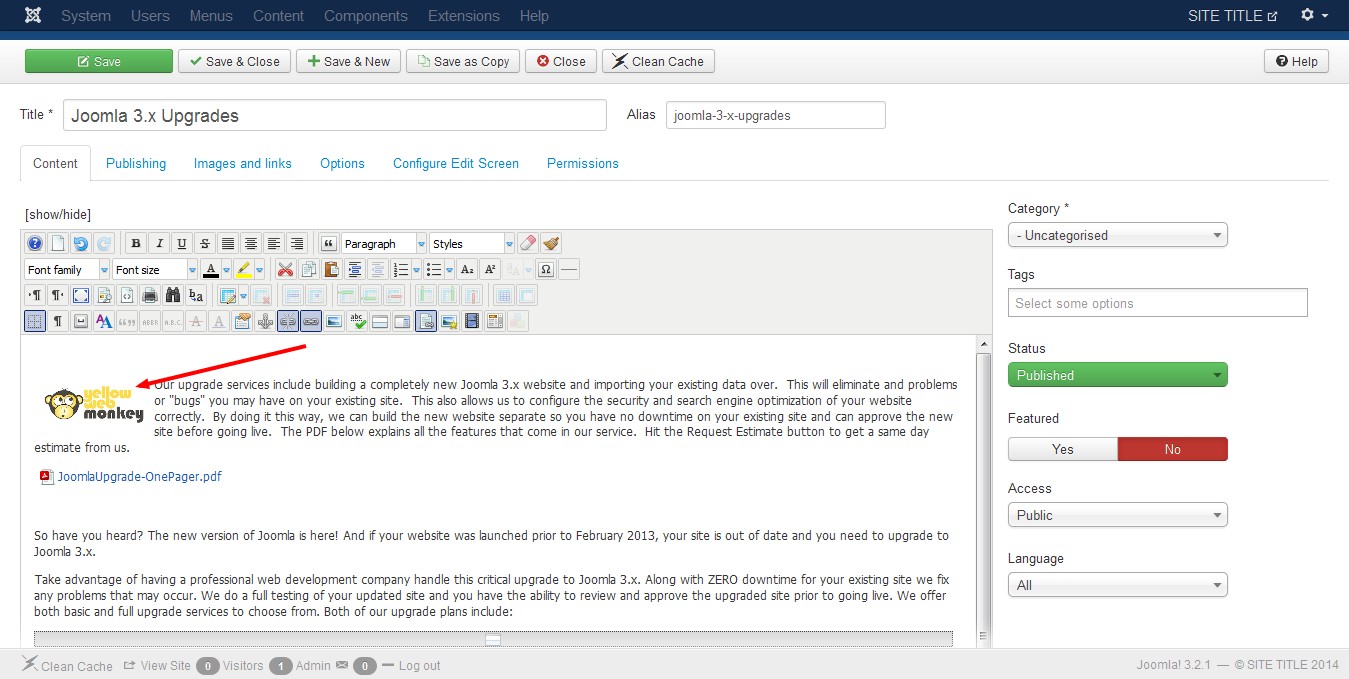
Save and Close the article