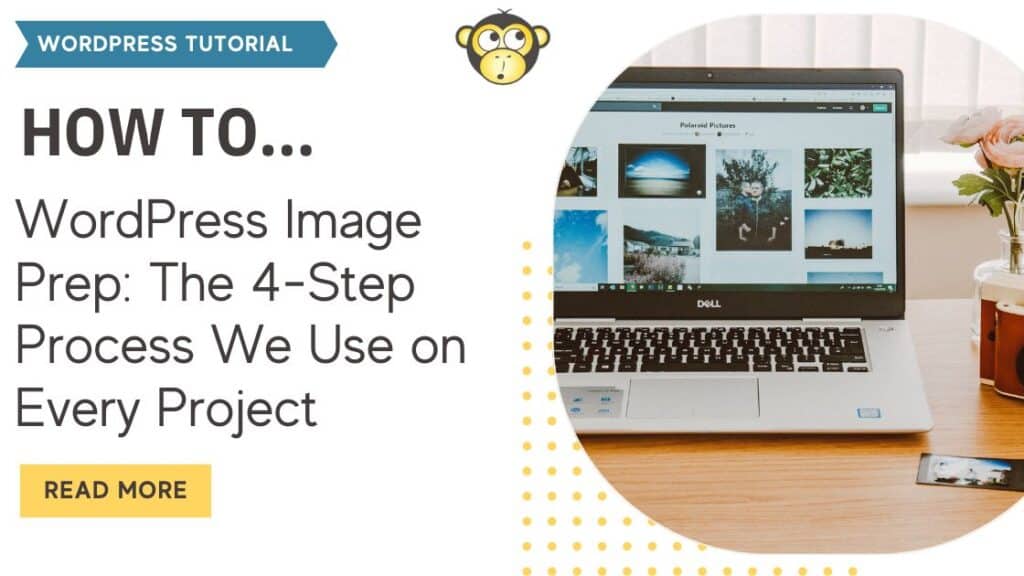
Unoptimized images can slow down your WordPress site. Most users upload high-resolution files straight from their phone or camera, inadvertently bloating their page weight. At YellowWebMonkey, we’ve found that a few minutes of prep before hitting “Upload” can reduce page load times by 50% or more.
To optimize your images for WordPress, you must choose the correct format, resize to the display width, compress the file, and write descriptive alt text.
1. Choose the Right File Format
Using the wrong format is like trying to fit a square peg in a round hole—it creates unnecessary bulk.
- JPEG: Best for photos and complex images with many colors.
- PNG: Best for logos, icons, or graphics that require transparency.
- WebP: The modern standard. It offers superior compression compared to JPEG and PNG. Most modern tools now export to WebP by default.
The Simple Rule: Photo = JPEG. Graphic = PNG. If you want the best performance in 2026 = WebP.
2. Resize Before You Upload
A common mistake is uploading a 4000px wide image from a DSLR into a space that is only 800px wide on the screen. WordPress generates smaller versions on upload, but your theme may still serve the original file, forcing browsers to download the full-size image anyway.
General Size Guidelines:
- Hero/Full-Width Images: 1600px – 2000px wide.
- Standard Blog Images: 1200px wide.
- Thumbnails/Gallery Images: 400px – 600px wide.
Tip: Use your browser’s “Inspect” tool to see the actual dimensions of your content area so you aren’t guessing.
3. Compress for Speed
Resizing changes the dimensions, but compression reduces the actual data weight (megabytes to kilobytes) without losing visible quality. Our team uses a specific workflow: Resize first, then compress.
- Mac Users: Use ImageOptim. It’s a simple drag-and-drop tool that strips “junk” metadata and shrinks the file size instantly.
- Windows/Web Users: Use Squoosh.app. It’s a powerful, free tool by Google that allows you to see a real-time comparison of your original vs. compressed image.
4. Write Useful Alt Text
Alt text serves two critical purposes: it allows screen readers to describe the image to visually impaired users, and it helps search engines understand your content.
The Golden Rule of Alt Text: Describe the image as if you were explaining it to someone over the phone.
- Bad (Keyword Stuffing): alt=”wordpress seo web development agency shopify” — Avoid this; it looks like spam to search engines.
- Better (Simple): alt=”person using a laptop” — Accurate, but a bit too generic.
- Best (Descriptive): alt=”A developer resizing an image for a WordPress blog post on a Macbook” — Perfect for both accessibility and SEO context.
Summary: Your Upload Checklist
Format: Is it the right format?
Size: Is it under 2000px wide?
Weight: Did you run it through ImageOptim or Squoosh?
Accessibility: Does it have descriptive Alt Text?
By following this 4-step process, you ensure your site stays fast, ranks higher on Google, and provides a better experience for your visitors.
Ready to speed up your online store? Performance is profit. If your site feels sluggish despite following these steps, there may be deeper technical issues at play. Reach out to the experts at YellowWebMonkey to optimize your store for 2026 and beyond.