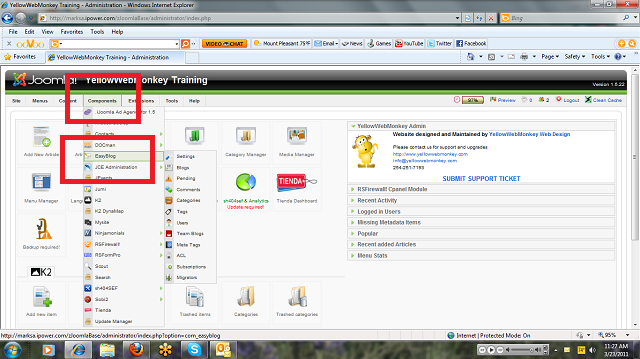
From the Control Panel, Click Components in the top
Choose EasyBlog from the drop down menu
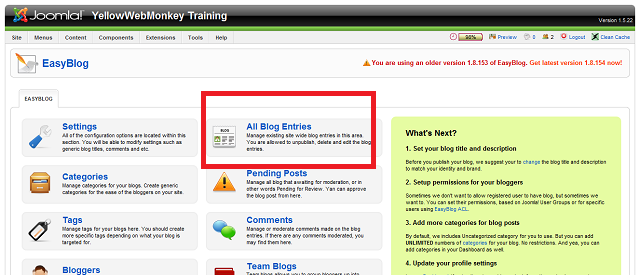
Next Choose All Blog Entries
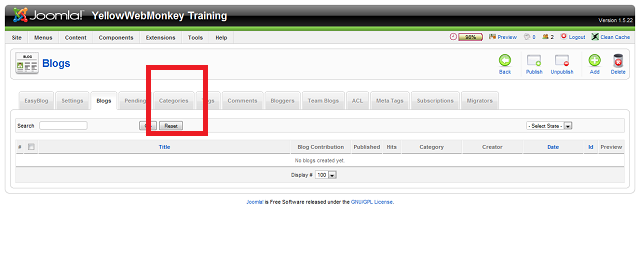
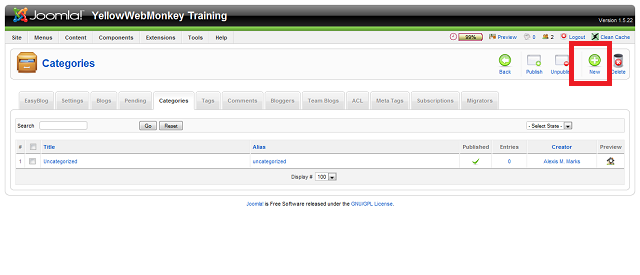
You can create a Category for your Blog by choosing Categories
Click New to enter a new Category
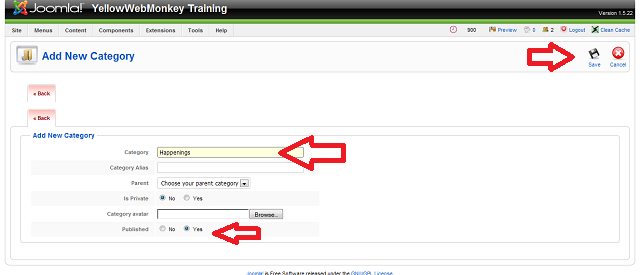
Type in the Category and Category Name (can be the same)
Yes to Published
Click Save top Right
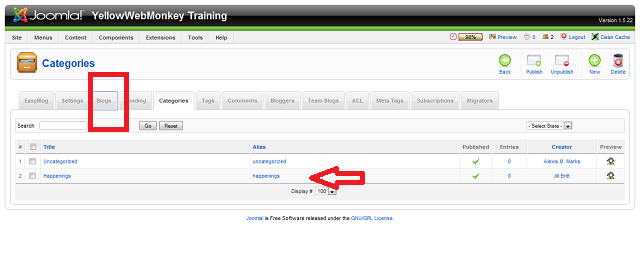
Notice the new Category
Next Choose Blogs
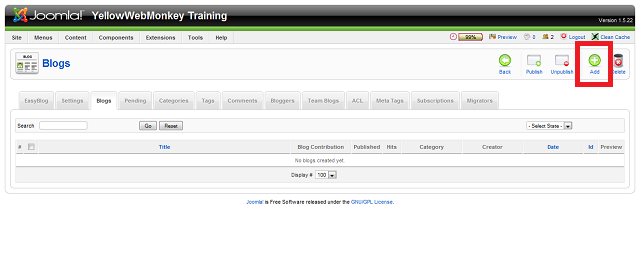
Click the Add button, top right
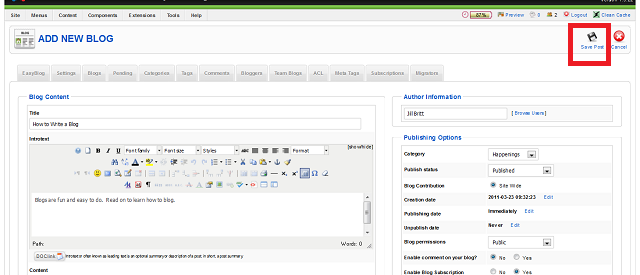
Type in Title of your Blog
Type in the Intro text (this is the short teaser section that is displayed in your blog roll)
If you want to change Author, choose one from the Dropdown
Choose a Category for your blog
Choose Published if you are going to complete it, or leave Unpublished and return later to publish it.
SAVE your work often by choosing Save Post in top right.

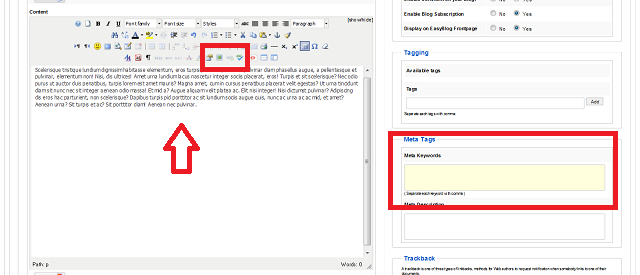
Type in the remaining blog text in the bottom text box. You can add an image using the Insert Image Icon
(See Tutorial, Adding an Image to an Article)
You can add Tags to your blog
Click Save Post top right. Your blog is ready.