
The Shrink O’Matic is a handy program that will automatically compress images to a size that is more suitable for whatever you want to use the photo for. If you have photos that are too big, the Shrink O’Matic is just a drag and drop away from making your photo the perfect fit.
- First, install the Shrink O’Matic from the following URL.
https://toki-woki.net/p/Shrink-O-Matic/ - Click the install button on the right side.
- After the install has finished open the Shrink O’ Matic.
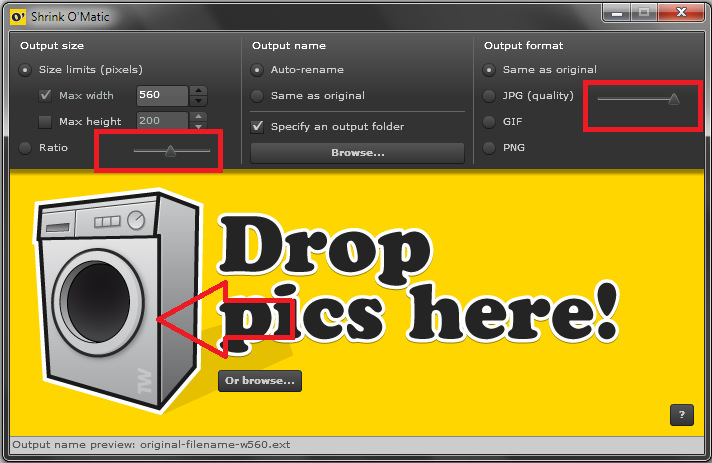
- On the program you will see 3 columns: Output Size, Output Name, and Output Format.
- The output size refers to the size of the image after it has been shrunk. You can either create specific dimensions, or use the ratio button to make the image a certain percentage of it’s original size.
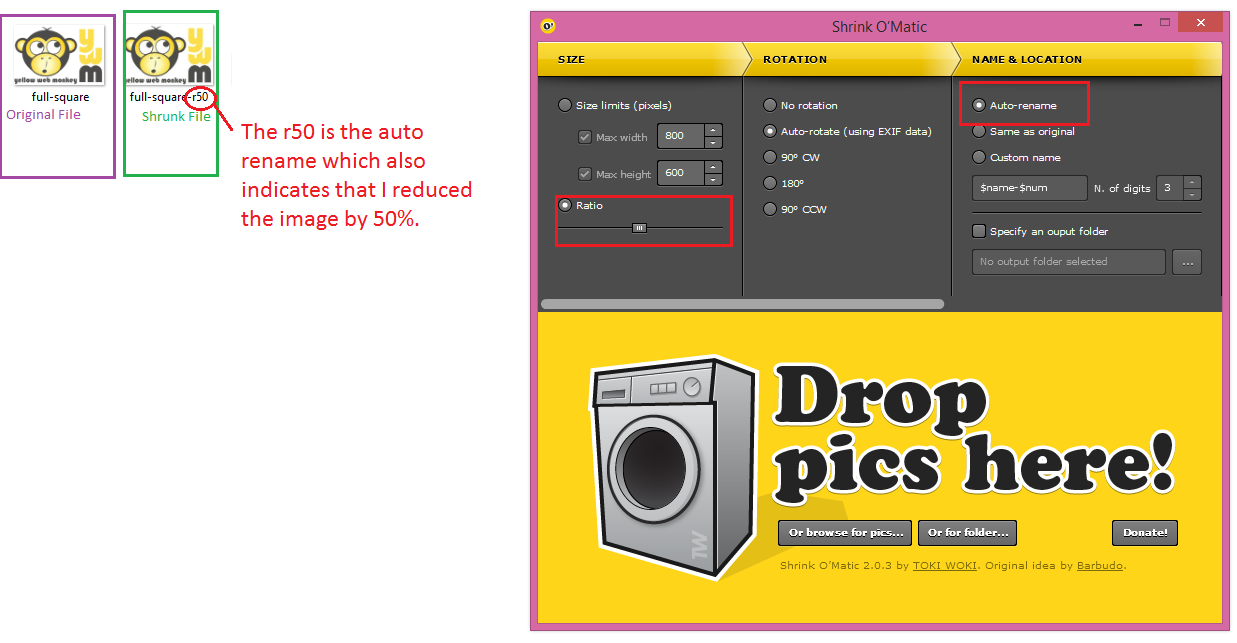
- The output name will change the name of the copied photo. Your original photo will remain, but the copied version will have an “-r50” attached on the end. You may also choose a folder to place all copied images (this is handy for organization.)
- The output format is for choosing a format for an image, this is useful if you wish to convert file types.
- Now open your pictures folder, or whichever folder your desired photo is located.
- Choose the photo you wish to resize and drag and drop it onto the “Drop pics here,” area of the photo.
- Allow a few extra seconds for high resolution photos to be compressed.
- Notice that right next to my original photo, I now have a copy with an “-r50” tag. This is my compressed version of the photo.
- Now my photo is in a proper size format.