When designing with WordPress, consistently backing up your website is an important part of maintaining the site. We recommend backing up your site at a minimum of once a month as well as prior to Core, Theme, and Plugin Updates. One popular backup plugin is BackupBuddy.
1. Log in
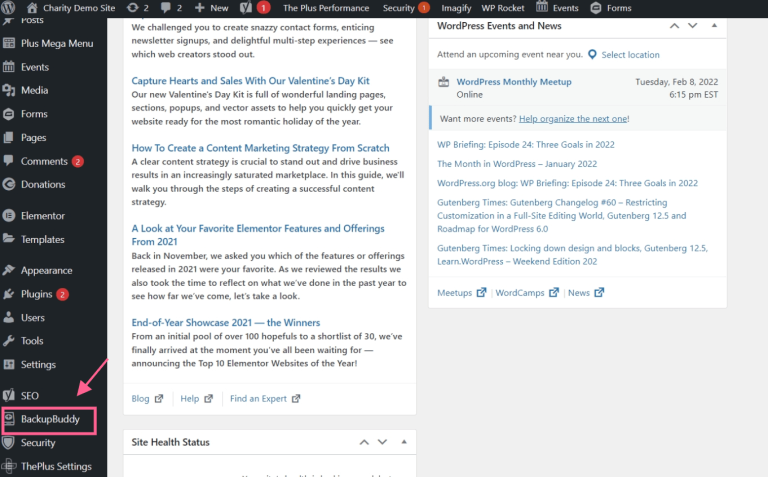
Begin by logging in to the administrator portion of your website with your username and password.
2. In the left-hand column you will see the BackupBuddy option:
3. Create Backup
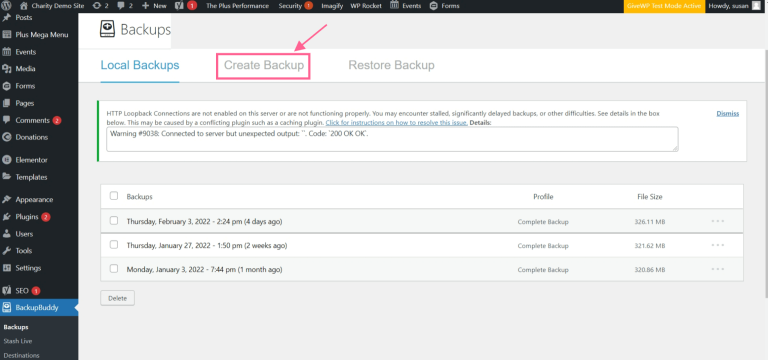
Once you click on BackupBuddy, you will see columns across the top of the page that read Local Backups, Create Backup and also Restore Backup which is useful if you need to restore a previous version of your website.
4. Complete Backup
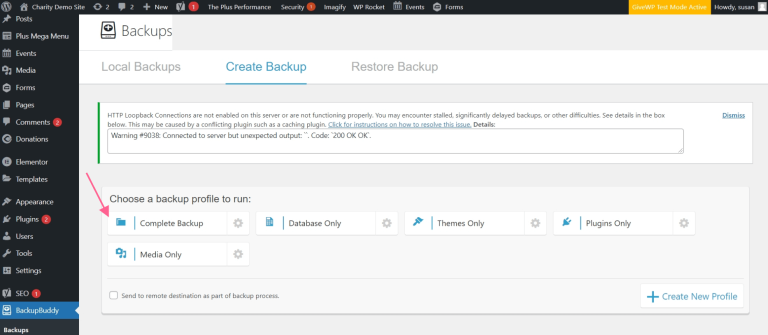
Once you choose Create Backup, select the first option to run a complete backup. Depending on the size of your website this can take a while, but you will be able to watch the system progress through its steps.
5. Storing your Backup
By default, the backup file you just ran will be stored locally. This means it is saved on the same server as your website. It’s a good idea to set up a limit on the number of local backups you store on your website. Any future Complete Backups will also backup your local backups. This will generate large backup files and impact your server resources.
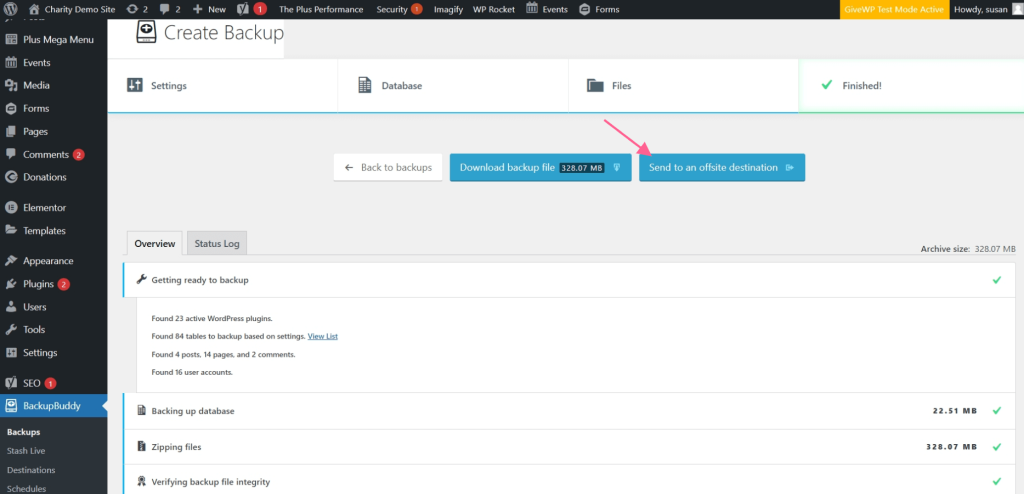
6. Dropbox or Stash:
When the backup is complete you have the option to download it or send it to an offsite destination such as Dropbox or Stash. You will receive a notice that tells you the backup has been scheduled to send and you will get an email if there are any problems.
Setting Up Backup Destinations
After completing steps 1-6 above, save a draft of the post. To set up a 3rd party backup destination, follow these steps.
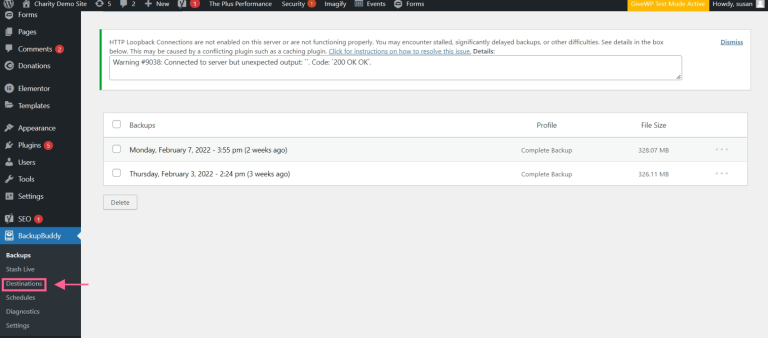
1. Navigate to BackUpBuddy > Destinations:
2. Add New
The next screen will appear like this where you will select Add New and then your preferred destination location:
3. Manage your Backup Account
Once you have logged in with your iThemes username and password, the next screen will appear where you can manage your backup account and also modify the settings to suit your needs:
Setting up a Backup Schedule
You can schedule backups to automatically run with BackupBuddy’s backup schedules.
To set up backup schedules, navigate to BackupBuddy > Schedules. You’ll have the option to configure your schedule as needed including sending the backup to a remote destination and deleting it from the server when complete.
Once you’ve established your schedule, backups will run automatically.
Share:
About YellowWebMonkey
YellowWebMonkey Web design offers reliable website design, SEO and digital marketing services for Joomla, WordPress and Shopify sites. We strive to be a one-stop shop for all your web needs.