When creating articles with different sections, you may find that your images overlap into other sections. You can create clear breaks between the images and the start of the following section by adding a custom style, Clear, to JCE and applying that to your articles.
Adding “Clear” as a custom style:
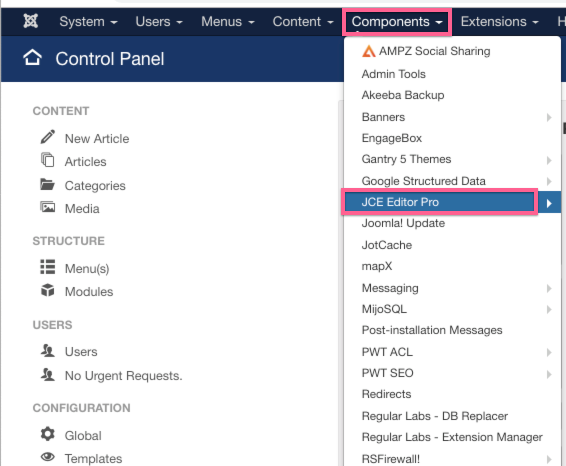
Go to Components –> JCE Editor
Choose Editor Profiles, then Default.

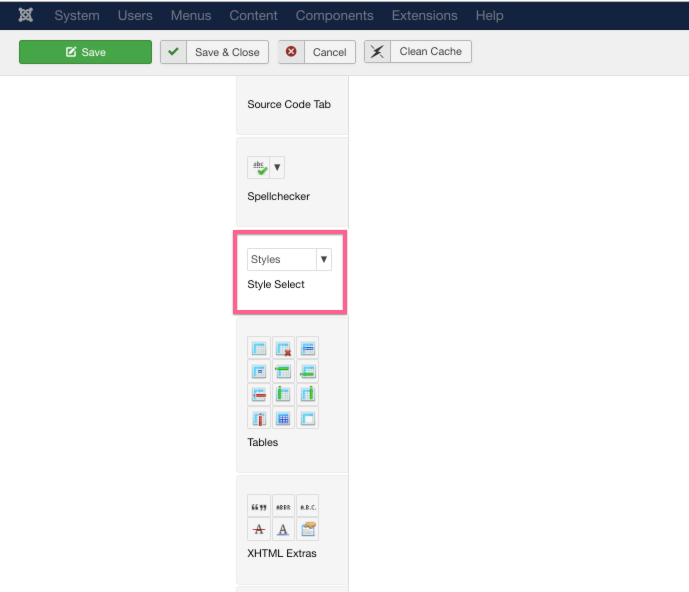
Click on the Plugin Parameters tab, scroll down the left side menu and select Styles.
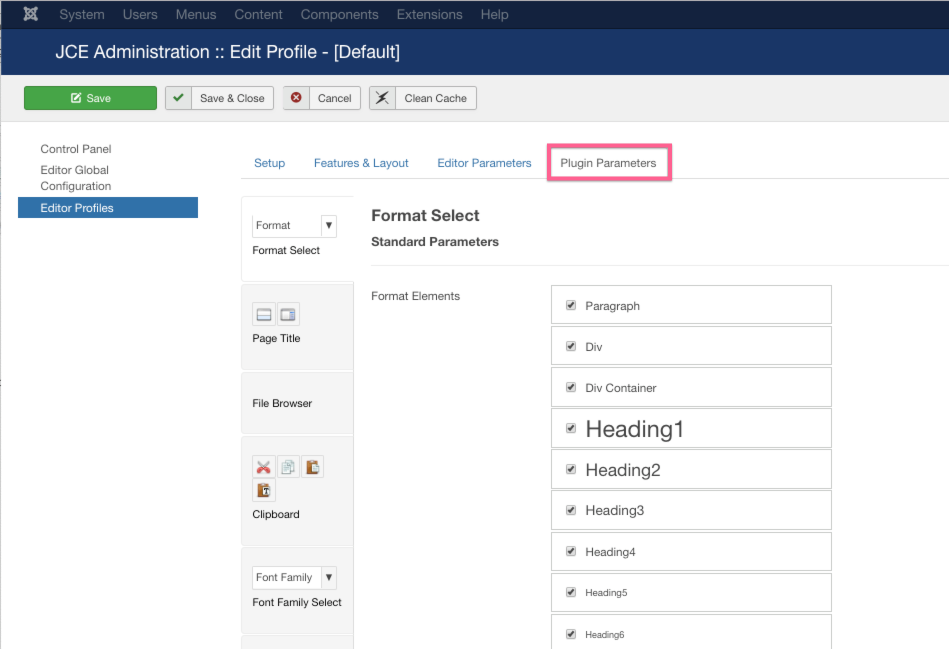
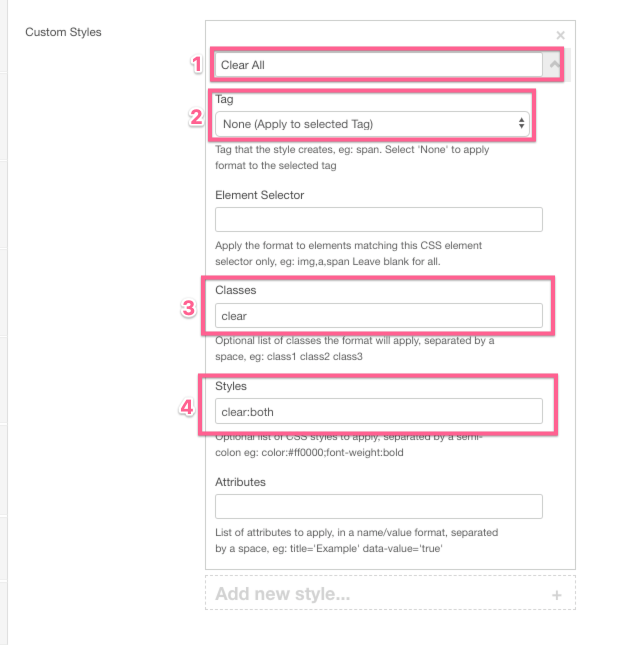
Title: Clear All. Tag: None (Apply to selected Tag). Classes: clear Styles: clear:both. Then, Save and Close.
Using the Clear style in an article:
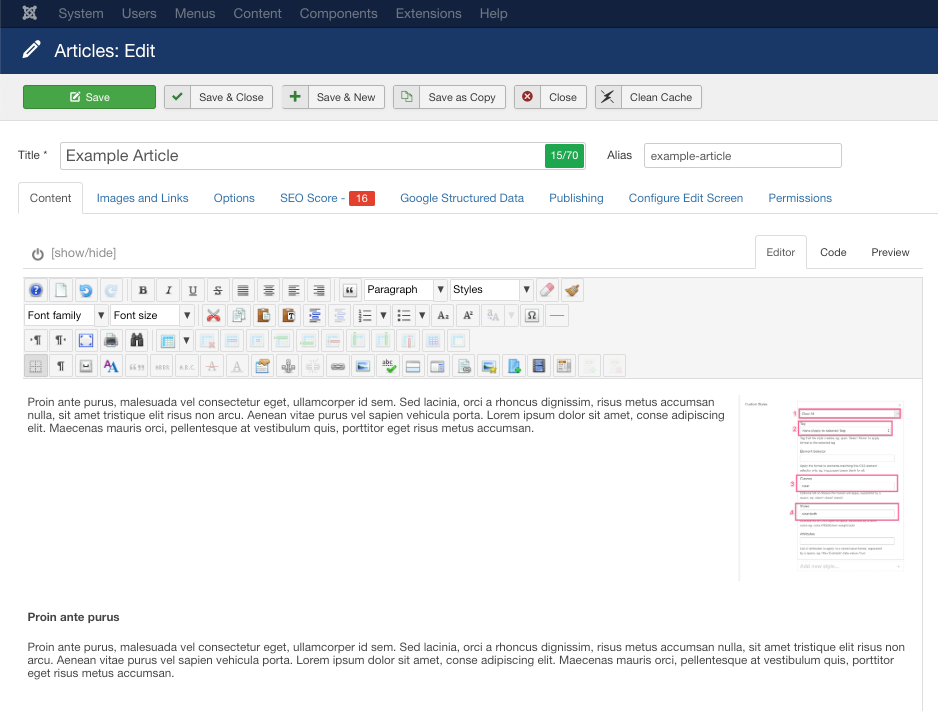
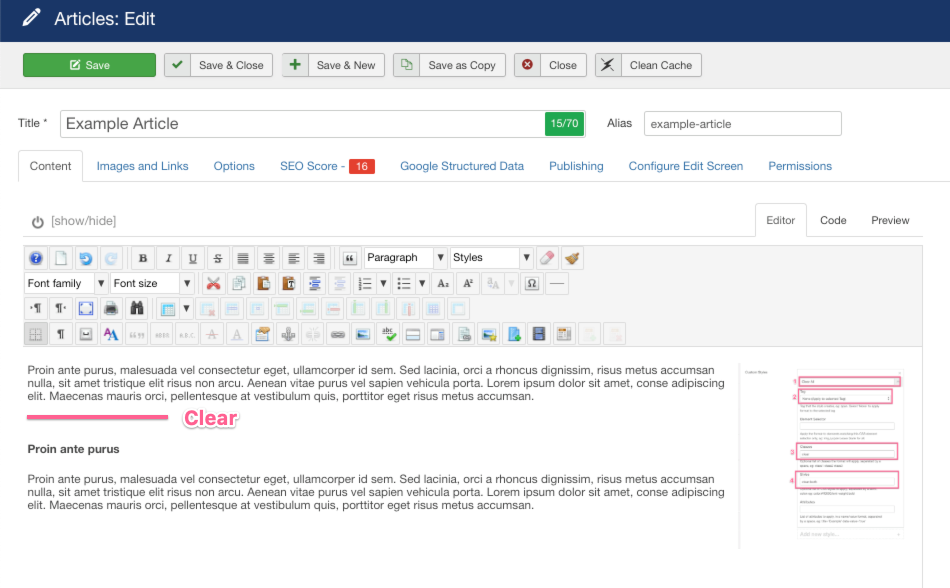
Now that you have the style set up, go to the article where you need to use it. In this example, we only want the image to be with the first section, and have the second section begin after the floating image.
Highlight the line space between the end of the first section, and the heading of the second section. Select Clear All from the Styles drop down menu.
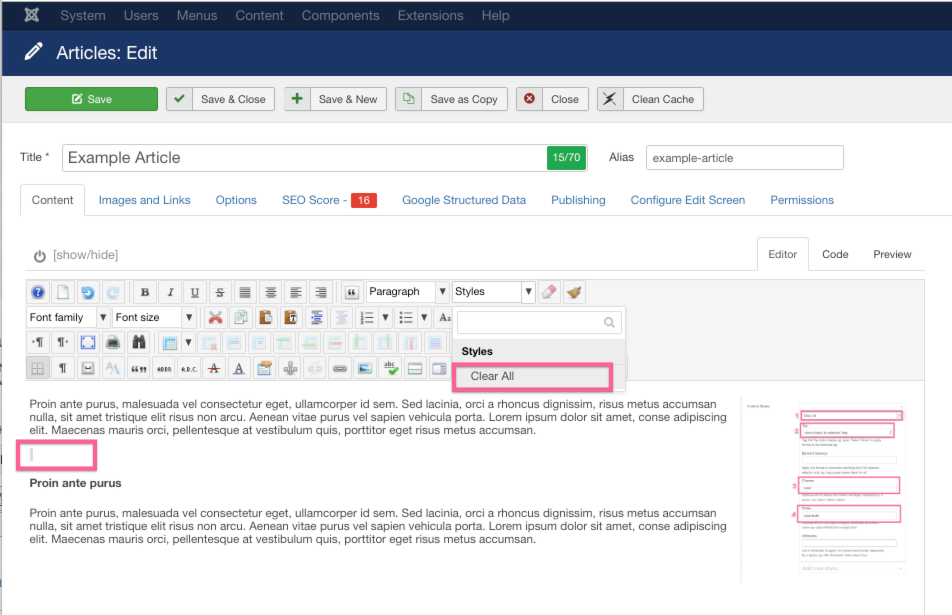
You will see that the second section now starts after the image in the first.