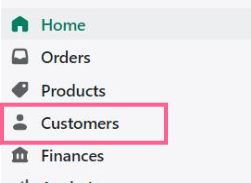
Step 1: Click “Customers” on the left side menu.
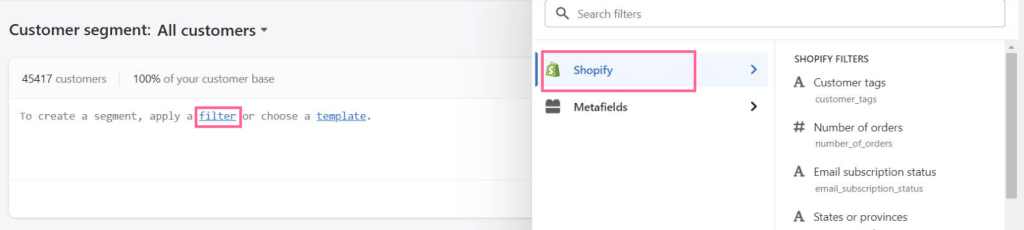
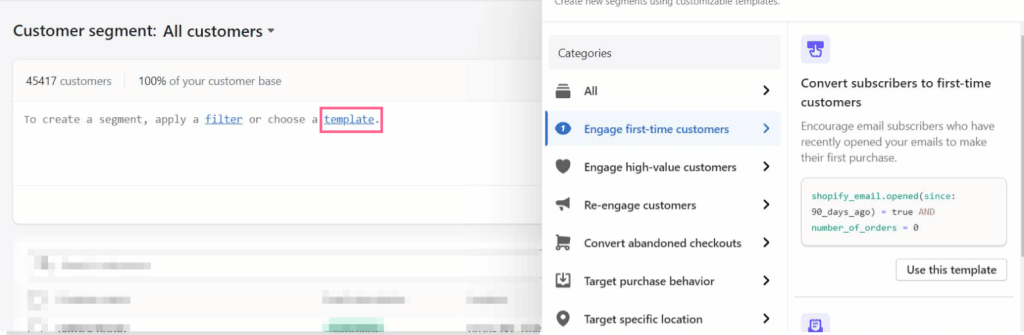
Step 2: Use Customer Segment editor to create a segment by applying a filter or using a template to target a specific customer base.
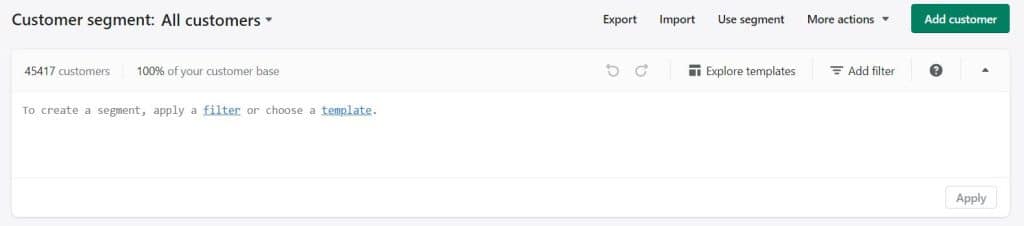
Filters:
Templates:
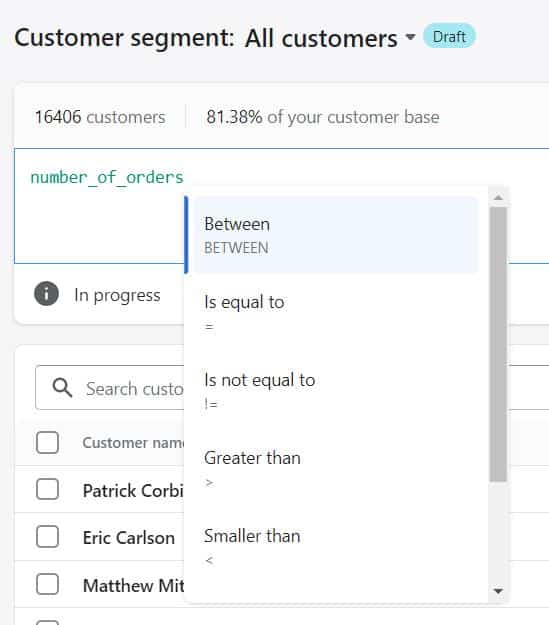
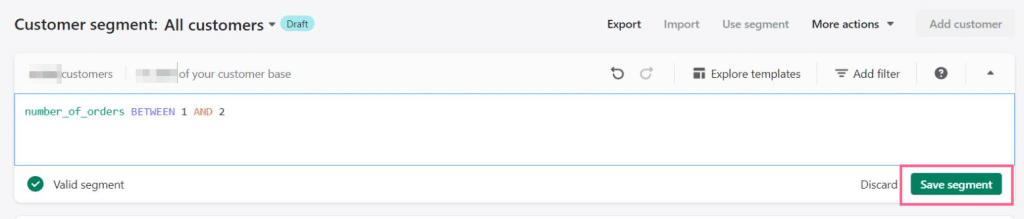
Step 3: Once you’ve chosen your filter or template, follow the prompts in the segment editor to complete the segment formula and click “Save segment” button.
Step 4: Select your saved segment in the top dropdown menu.
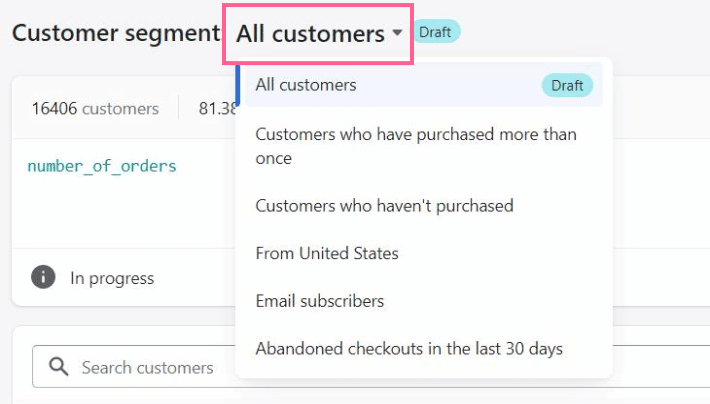
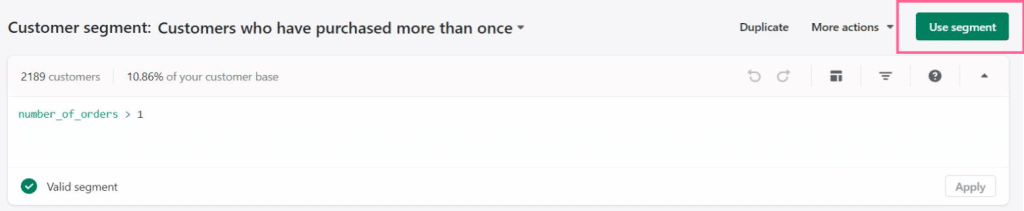
Once you choose your preferred customer segment, click “Use Segment” button in the toplight corner.
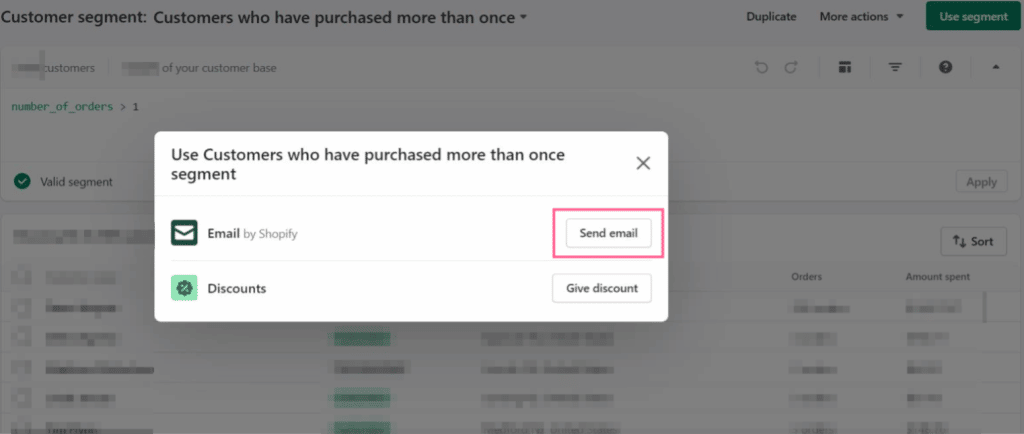
Step 5: Once you click on “Send email,” the Shopify email app will open, allowing you to choose an email template. Once you choose the template, the email will show up for editing with your selected customer segment in the “To” block.
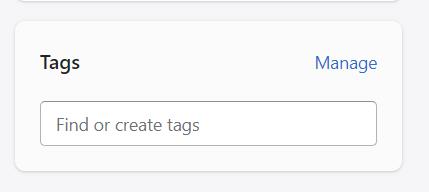
To create a customer segment with tags, choose Customer Tags filter and fill in the formula with the desired tag.

To tag customers, you can individually click on customer profiles and add tags
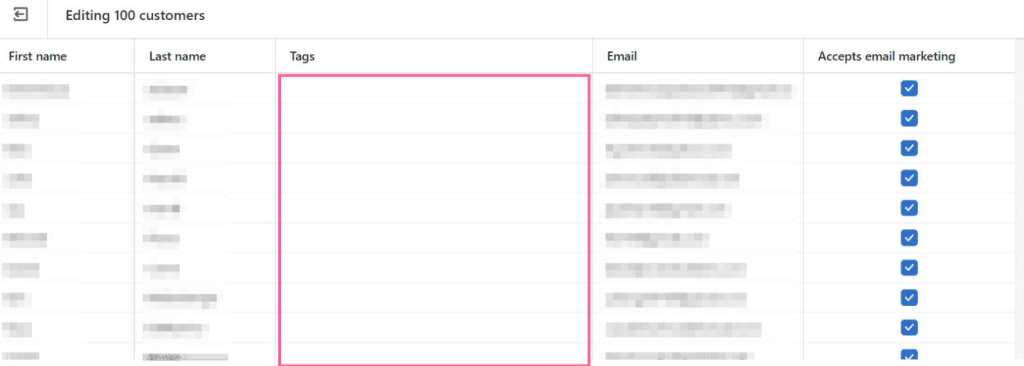
You can also choose multiple customers and add tags in a bulk editor.