Adding a unique logo and icon in your chosen theme helps users identify the site and personalizes your website. The following instructions will walk you through the process.
1. Log in
Begin by logging in to the administrator portion of your website with your username and password.
2. Site Identity
Go to Appearance → Customize. Click on the Site Identity section. Depending on the Theme you are using, Site Identity may be under the “Header” option.
3. Site Logo and Icon
Under Site Identity, you will be able to set a Site Logo and Icon. The Icon will appear in the Browser Bar when users access your site.
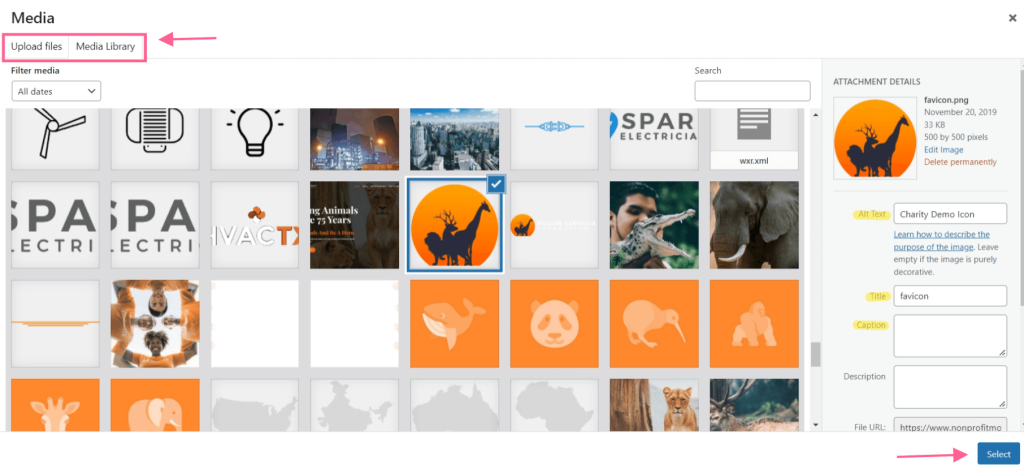
4. Media Files
You can upload your own image from your computer or use media files you have already placed in the Media Library. Be sure to pay attention to the suggested pixel size for each item. If you are using your own created image, run it through an image optimizer first before uploading it. Simply highlight the icon you want to use, update any information in the right-hand column, and then click select on the bottom right hand of the screen:
5. Select the green "UPDATE" button to save your changes.
Share:
About YellowWebMonkey
YellowWebMonkey Web design offers reliable website design, SEO and digital marketing services for Joomla, WordPress and Shopify sites. We strive to be a one-stop shop for all your web needs.