Add a Sitemap for your Shopify Customers without an App

SitemapSmall.png
For your e-commerce shop, a sitemap is a page which lists all of your products, collections, shop categories as well as other pages. It links them well and makes them easily available for your customers. A sitemap is usually found in the footer menu of a website.  Although Shopify provides the XML sitemap for Google, you generally have to install a paid app to have a sitemap for your customers. We code a customer sitemap into all Shopify sites we manage and wanted to share the code with others.  All the code snippet are loaded into Gist and you can learn more about how to include a sitemap to your website here:

See in action:

1. Create a new page template: ywm-sitemap.liquid

Place this code after the div that includes {{ page.content }} and remove the existing div that holds the h1

2. Create a new section: ywm-sitemap.liquid

3. Next add CSS styling to custom.css.liquid

If you don’t have custom.css.liquid in your theme, you can create a new asset

4. Set sitemap page to use new template

Go to Pages > Add New > Choose the Template suffix: page-ywm-sitemap > Save

5. Add the Sitemap page to your footer menu

Go to Navigation > Footer Menu > Add new menu item > Give it a name and within the Link dropdown choose pages and select Sitemap > Add > Save Menu

6. Adjust sitemap settings.

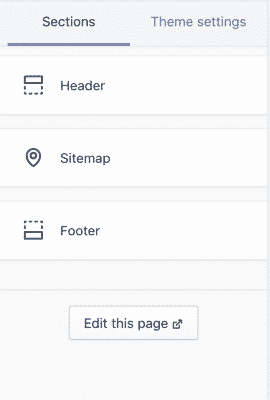
Go into theme > Customize

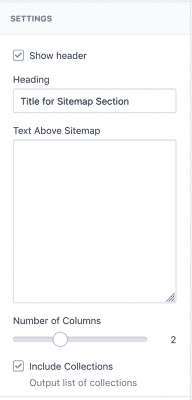
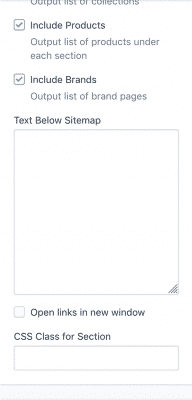
Go to the page you just added. Here you can change your settings – add a heading, text and choose what to include on the sitemap.

sitemap1


sitemap2


sitemap3

About YellowWebMonkey

YellowWebMonkey Web design offers reliable website design, SEO and digital marketing services for Joomla, WordPress and Shopify sites. We strive to be a one-stop shop for all your web needs.

Recent Posts

Follow Us